
Hello and welcome to this tutorial.
If you are here, your valve cover gasket is probably leaking and you are trying to figure out a way to replace it.
First, why would you change your valve cover gasket ?
Valve cover gasket failures are pretty common on many different engines. The 1G-FE Beams is no exception and after many years of service, they can start to leak pretty badly. Fortunately enough, the procedure to replace it is pretty straightforward and doesn’t require a lot of tools. Let’s get to the point now !
The tools you will need :
- A metric set of tools (obviously)
- A torque wrench
- Some gasket maker (RTV), the black stuff for oil system applications
- A permanent marker
- Some kind of pliers
- A beer in a fridge
The parts you will need :
- 1 Valve cover gasket : 1121370040
- 6 Spark plug holes gaskets : 1119370010 x6
First, remove the airbox and engine covers.
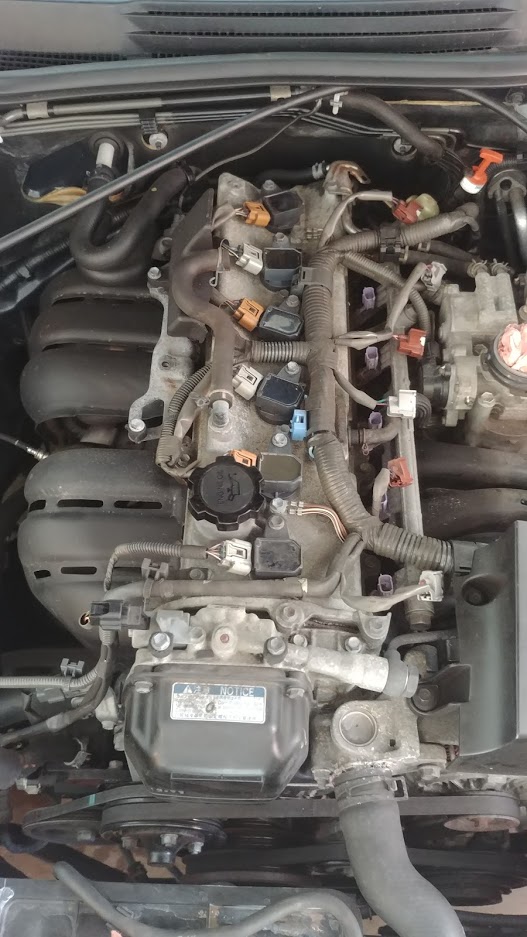
Remove :
- Coils : 10mm bolt on each coil
- Injectors wiring harness
- Coils wiring harness
- Ground points
- Metal bracket on the exhaust side and at the back
- PCV tube on the intake side
- As much wiring as you can
At this point, we are preparing the safe removal of the cover. You need to make as much room as possible to make sure the cover will come off without dropping anything in the engine.
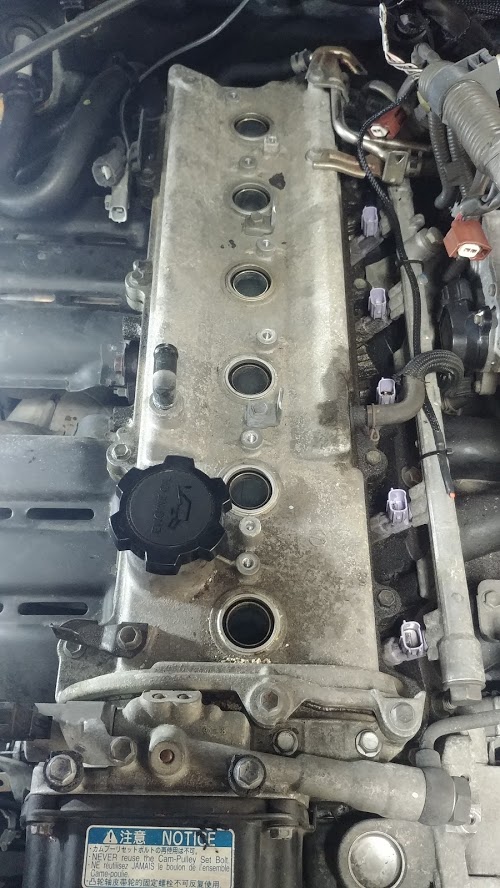
Now, remove every single 10mm bolt holding the cover (11) and take the cover off.
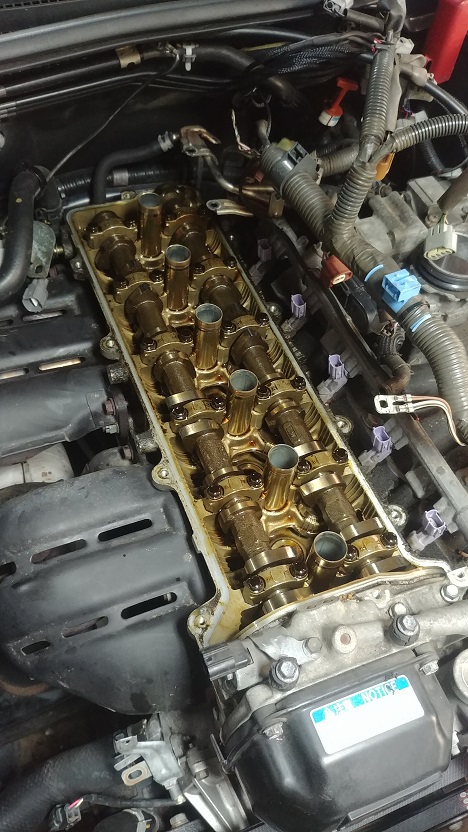
Now is a good time to inspect the camshafts area for any sludge buildup and unusual wear on the cam lobes.
With the cover off, remove the main seal and pry out the spark plug hole gaskets. Those gaskets are secured by 3 tabs, you will bend them when removing the gaskets. My tool was a big old fashioned flat head screw driver (the same I use to open paint buckets). Try not to damage the metal plate holding the gaskets too much so you can bend the tabs back afterwards.
When you are done removing them, install the new ones with a tube or a socket to insert them straight on their holes. You may not need to change them but it is a cheap insurance to replace them at the same time. Mines were hard and came apart when removing them, so yours may be the same.
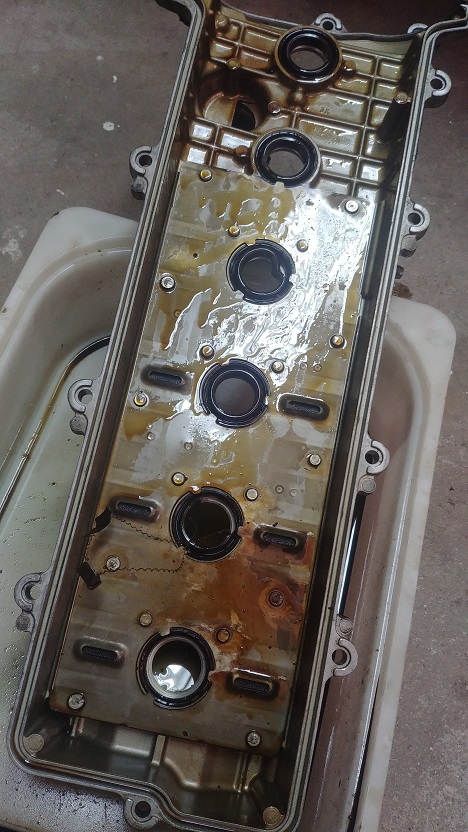
Wipe and clean all the surfaces where the gasket meets the head with degreaser and make sure you removed all the gunk created by the leak.
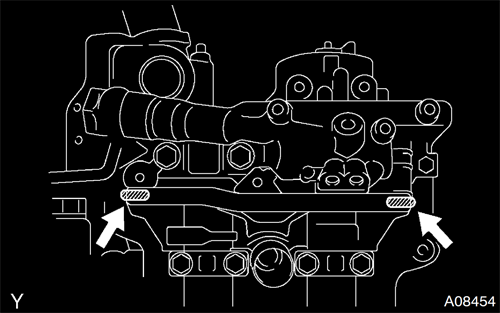
When you are done cleaning, make sure that the cover is ready to be reinstalled and get your gasket maker (RTV). Apply a small amount of gasket maker where the valve cover meets the camshaft bearing cap at the front of the engine.
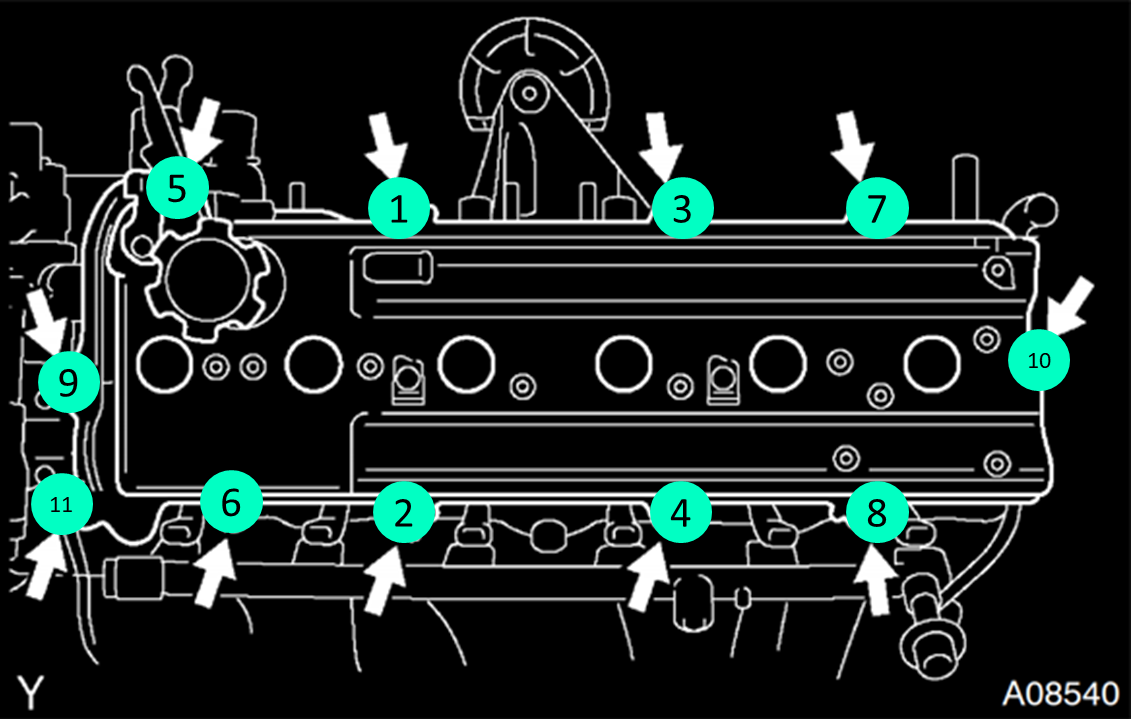
Then quickly put back the valve cover on the engine and check if the RTV spread correctly. Reinstall the 11 bolts securing the valve cover by hand
Then set your torque wrench to 15N.m (11 ft.lbf) and tighten the bolts according to the following sequence. You will have to go around the sequence a couple of times to get the right torque applied on each bolt.
Now, take your time to reinstall the wiring, coils and brackets you removed to get access to the cover and let the the car sit for a few hours so the RTV can fully dry.
Clean the top-end of the engine and go for a test drive. When you are back, check for leaks.
Now that the car is parked, head back in the garage, clean up the mess and grab yourself a beer.
Cheers !
Arthur Deniziot.